Leahpeah's Tasty – Pico de Gallo

3770577430_32e8a8544d

I don’t eat much onion. In fact, as a rule, I remove it from everything from burgers to salad.

3769770447_a68cf078cc

I don’t enjoy the taste although I do like the crunch. But, what I really don’t like is the aftertaste for days that comes along with it.

3770570598_7de1206700

This is a sad thing for my husband who loves onion and garlic and all things stinky but delicious. If he eats it, I can’t kiss him for a few days without gagging. Not really a good thing for intimacy.

3769774803_4dc51ea0783769775781_9cac64ab4f

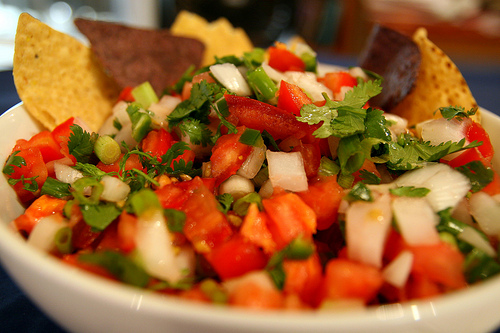
But I love Pico de Gallo. LOVE. It’s half chopped onion but I don’t care.

3769772609_315129373d

I shovel it in my mouth using tortilla chips as a vehicle. Why this discrepancy? I have no idea. It’s a little unsettling. It goes against my nature. Against the grain. Against everything I believe in. Against my testimony of avoiding smelly vegetables in the allium family. And yet, I snork it like nobody’s business.

3769773805_4a7f5e4ffe

Pico de Gallo is sometimes called salsa picada, which means chopped sauce. Pico de Gallo itself means rooster’s beak and I have no idea why. Maybe you do and you’d enlighten me?

3769776539_f0cff4f434

Pico de Gallo

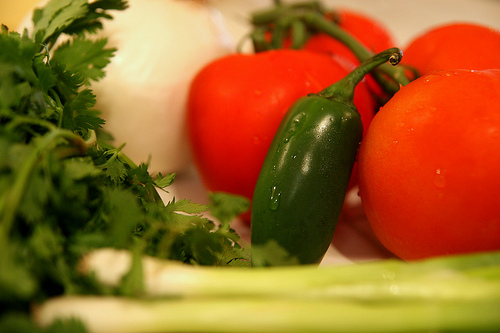
1 medium to large white onion
4 large, ripe tomatoes
1 bunch cilantro
1 bunch green onions
seeded jalapenos to taste
lemon

3770567168_a008e15759

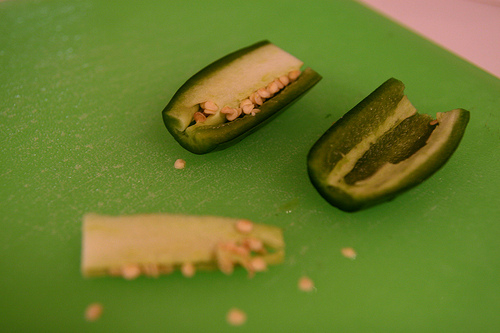
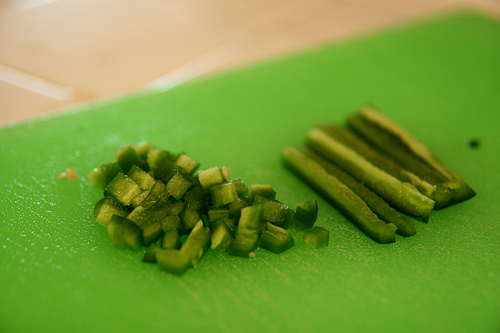
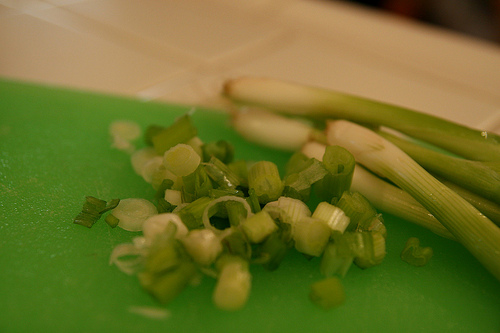
Chop tomatoes and onion into dime (or smaller) sized pieces. Place both in large bowl. Cut off the green onions’ root ends and half the green stalks, leaving the pretty and firm bottom to mid-section. Slice slim rounds and add to bowl. Chop or snip small pieces of cilantro. De-seed jalapeno and slice in to tiny chunks, maybe a third the size of the tomatoes. If you really like the taste of jalapeno, add as many as you want. If you want your salsa hotter, keep some of the seeds in the mix. Squeeze lemon or lime juice over the whole thing and mix well. I add a little salt to make the flavor pop but if you’re watching your sodium, it’s great without it.

Then, snork it with some chips.

3769777439_a9ff61a9d9

I find it keeps ok for one day, but any longer and it gets too wet and the flavors fade and change. Store it in an airtight container and before serving the next day, drain as much fluid from the bottom as possible.

Leahpeah's Tasty – Dev's Chocolate Marshmallow Cake

IMG_1375

This cake is delicious. It tastes similar to a Ding-Dong or a Suzy-Q. The cake is moist and has a nice crumb. And the frosting is easy. So, if you like chocolate and marshmallow together, then this is the cake for you. This cake will make an appearance at our vow ceremony this December.

IMG_1330

You’ll need 3 9″ishX2″ish round cake pans for a 3 layer cake or 2 9″ishX2″ish round cake pans for a four layer cake. I love to use springform cake pans to eliminate a lot of the hard work getting the cake out of the pan.

Cake

3 cups cake flour
3 cups sugar, combination of white and brown (I do half and half)
1 1/2 cups cocoa powder
3 1/4 tsp. baking soda
3/4 tsp. salt
3 stick unsalted butter, room temp
1 1/2 cups buttermilk*
3 large eggs
1/2 cup coconut oil
1 cup applesauce

*TIP – you can make your own buttermilk from regular milk by adding about 1 TBL lemon juice per cup of milk. Let sit for about 5 minutes.

IMG_1332

First preheat your oven to 350, spray your cakepans (or butter and flour) and cut waxed paper for pan bottoms. Spray waxpaper, too.

IMG_1333

In a large bowl, combine all dry ingredients and mix with hand mixer (or awesome large mixing appliance) until well combined.

IMG_1339

Add butter, buttermilk, oil and applesauce. Mix until well blended.

IMG_1340

Add eggs all at once and whip on high for about 3-4 minutes until fluffy (er). Scrape sides and slightly mix again.

IMG_1343

Place even amount of batter in each cake pan. In 3 pans it should come up about an inch. In two pans it’s about 2 inches. Slap on counter a few times to get air bubbles out and even out the batter.

This is a great time to mix yourself a cool drink to get you through baking in a hot kitchen in the middle of a hot summer.

IMG_1345

Bake in oven for 20 minutes. Turn oven down to 300 and rotate pans. Check in 10 minutes for 3 layers an 15 minutes for 2 layers and remove from oven when toothpick comes out clean. Let cool in pans for 10 minutes then remove from pans and place on cooling racks paper side up. Wait until completely cooled, about an hour, before removing waxed paper. And then drop one of the layers on the counter if you are me.

IMG_1354

At this point, you could make the frosting and complete the cake but it’s much easier to frost and construct if you place the layers in the freezer for an hour.

IMG_1346

Carefully wrap the layers in a layer of plastic wrap and a layer of tinfoil. Lay them flat in the freezer. If you want, you can make the layers and freeze them for up to three weeks before completing the cake. If you’re going to leave the layers in for more than a few hours then you need to wrap them with three layers of plastic wrap and 3 layers of foil.

Pull the layers out of the freezer to slightly thaw while you make the frosting.

Frosting (7-minute frosting except it take me longer than that)
4 large egg whites
3/4 cups granulated sugar
1/2 cup light corn syrup
1/4 cup plus one TBL water
2 tsp vanilla extract
pinch of salt

IMG_1350

Place all ingredients in a large metal bowl over stove top simmering water. Don’t let the bowl touch the water. Beat with hand mixer at high speed for 5-7 minutes until hard peaks form.

IMG_1351

Remove from heat and continue to whip on high for 3-5 minutes until mostly cooled.

Trim to straighten your layers. If you made the cake in two layers, slice the layers in half. As you stack the cake layers, make sure the top layer is flat bottom side up. For the three layer cake, no need to cut. Just layer. I actually didn’t cut any off the tops of my layers this time and just let the shape of the cake be what it was. I do that a lot when I’m going to serve it to the family for dinner.

IMG_1356

Do this this prep on a plate that fits in the freezer and not on a pedestal. Place two overlapping pieces of waxed paper under the bottom layer for easy transferring later. (Although this adorable dragonfly plate could be used to serve the cake on. I love it!)

IMG_1365

Use an ample amount of frosting in between layers. I did it a little thin this time and everyone made a comment wishing there was more. So, don’t skimp!

IMG_1361

Do a very thin crumb coat of frosting around the entire cake. Place back in freezer for 15-30 minutes.

Time to transfer to the pedestal. Place your plate over the pedestal near the edge and use the waxed paper to pull it on. You can also use a spatula to help it move over.

IMG_1362

Now is the fun part. Blop all the frosting, minus about 1 cup, on top of the cake.

IMG_1366

Use your clean and crumb-free spatula to gently smooth the frosting from the center towards the sides.

IMG_1367

Keep pushing downward and then move across the sides around the cake, making the frosting even all the way around. If a few crumbs get on your spatula, immediately remove with a paper towel before continuing. Use the reserved frosting to fix any mistakes.

IMG_1372

I like to take a knife and made some little doppy-dos on the top and keep the sides smoother. I think it looks pretty.

IMG_1377

Wait about 30 minutes before serving and give the cake layers time to completely thaw before serving.

VARIATIONS – a layer of raspberry filling in the middle is delicious. Chocolate ganache is also a wonderful filling. A light coating of cocoa powder over the frosting is pretty. I haven’t tried it, but oozing a bit of chocolate syrup over the top dripping down the sides might be good, too.

Sorry for the low light in these photos. My kitchen isn’t that well lit but I’ll try and fix that for next time.

Leahpeah's Tasty – Just Figs Fig Spread

heartfig_oval

FIGS!!!!!

I had to get that out at the beginning because my love for figs runs deep. When I was a child, we would eat figs in the summer at my Grandma and Grandpa’s home, along with crusty, buttered bread, dates, a little cheese and freshly cracked pecans straight from my Grandpa’s hands.

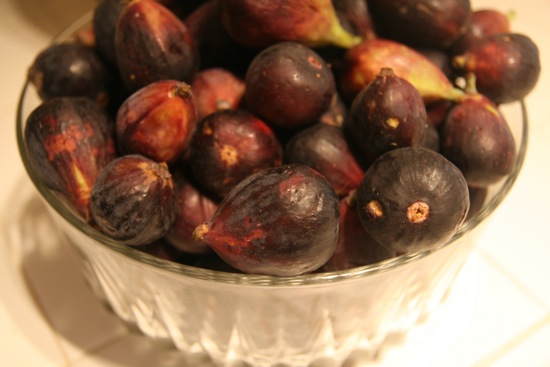
Figs are in season over the summer. I’ve found the first crop in the early summer tends to not be as sweet as the late July or early August figs. This is because the first crop is actually fruit from the tree growth that happened at the end of last season. The second crop of fruit is from the tree growth that happened this season. In my area, Southern California, we mostly see Black Mission or Brown Turkey figs.

img_1059

You’re looking for a fig that is deep purple, soft and slightly squooshy but without broken skin. (Fun fact – did you know that figs are really the flower of the fig tree? The outer casing holds a kajillion flowers all mashed close together, creating the inside of the fig.) Buy one basket for every two people. Or buy a ton and freeze some to use through the winter. That’s what I do.

img_1060

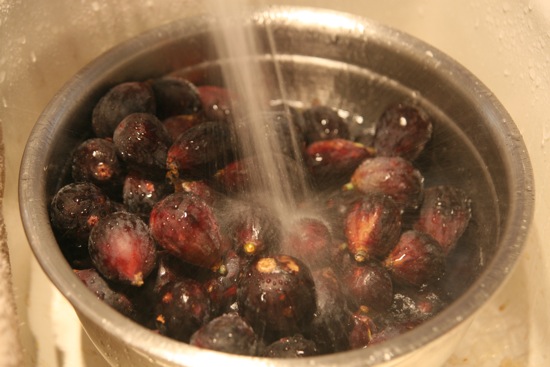
First, gently dump all your figs in a bowl, spritz with a little fruit wash and cover with water. Put your hand in there and swish them around a bit to get the dirt off. Take each fig and cut the stem off, check the bottom and remove the skin if it’s rough to the touch. Check the rest of the fig for blemishes or rough spots and remove. Some people remove the entire skin, but I like the flavor and texture of the whole fig.

img_1061

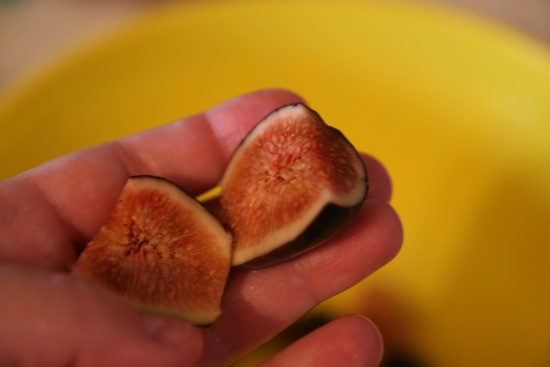
Cut the fig lengthwise and drop in a clean bowl big enough to hold all the figs. Repeat over and over and over and over until all the figs are cleaned and sliced.

img_1063

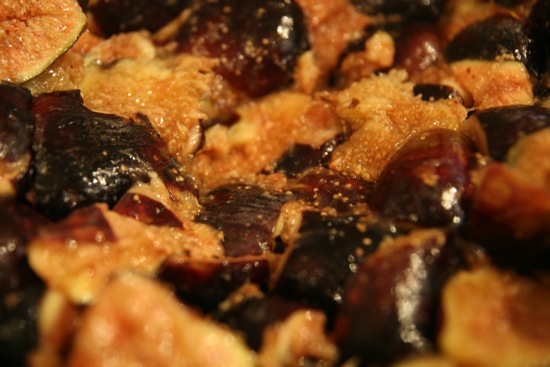
Take a large spoon and macerate/smash the figs just a bit. If your figs are nice and ripe, your should have a chunky pulp of purple skins and dark seeds with some reddish-orange-ish-brownish delicious meat. Cover the figs and put them in the fridge for at least 2 hours or overnight. This allows the natural sugars to come out and make the spread sweeter. If your figs are not very soft and ripe, sprinkle in about a teaspoon of sugar before refrigerating.

img_1066

When you take the figs out, it should make you swoon when you look at them. Or is it just me? Use a large spoon to give them a few stirs and salivate. I’m going to assume that you’re eating a bit and freezing the rest, since that’s what I do and everyone in the world is just like me.
img_1065

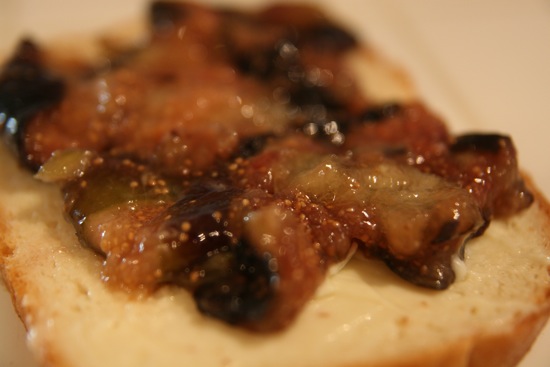
For what you want to eat right away, take a bowlful and use a fork to mash them a bit more, eyeballing it until you’re happy with the consistency. I try to get it looking like a thick preserve. Now, spread it on your buttered bread. Or grab some crackers and Mascarpone or Goat cheese and place a dollop of fig on top. YUMMY. Then lick your right hand, index finger, because you got a little on there and you don’t want to waste it. Cover remainder in an airtight container and it will keep for a few days.
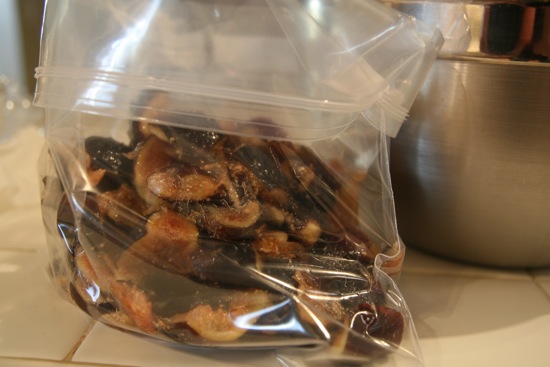
Now, for the rest of ’em. Grab out your freezer ziplocks and a permanent marker.

img_1067

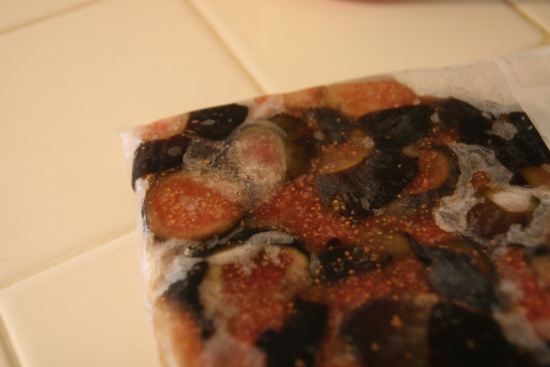
Fold the top down about a third of the way to keep it clean and shovel in smashed figs, filling the bag about a third of the way. Squeeze the air out and close.

img_1068

Lay the ziplock flat and begin spreading out with your fingers to the edges until you have an even layer of figs. Go ahead and mash them a little as you go. You’ll have a bit of air trapped inside, so open a tiny bit on one corner and squeeze out and close again.

img_1070

If you’re going to be freezing figs a few times through the summer, mark the date on the bag so you know which bag to use first in the coming months. Continue until all the figs are in bags, then lay flat on freezer shelf.

img_1073

To use a bag later, like in a few weeks, or a few days because you can’t wait any longer, remove bag from freezer and let thaw on the counter. Don’t microwave, as this somehow makes it over-juicy and unspreadable. But maybe do it if you want to drink some fig juice. Maybe in a smoothie?

img_10532

After it’s thawed, remove from bag and put in a pretty bowl because you like to look at pretty things.

Mash with a fork until you like the look of it, and enjoy.