I found some sheer white fabric for about a dollar a yard and bought a bunch. I thought it would make a great top and decided to make it two layers so you couldn’t see through it anymore, but it still looked flowy and airy.
I made a pattern from a loose-fitting tshirt.

I folded the top and arms in right above the bust line.

Then I drew line around it, marking how big it was.

I added 4″ inches to the top, 2.5″ to the sides and 3″ to the hemline, extended the pattern, cut it out then pinned it to the fabric. Because the fabric was so sheer, I cut through four layers of fabric at once. But it’s tricky, so do that at your own risk.

Next time, I won’t add anything to the hem and keep it just what it is. Because when I layered the panels, the bottom layer ended up being about 7″ too long and I had to cut it off. The top layer was three inches too long (how much I added) and I had to cut it off.

I sewed two pieces together to form a shirt front and back and then I did the same with the other two panels. After turning them both so all the seams were on the outside, I took one panel and put it over the other panel, pulling it down 3 inches and sewing in place. Then I turned it right sides out to make sure it looked good on the outside.

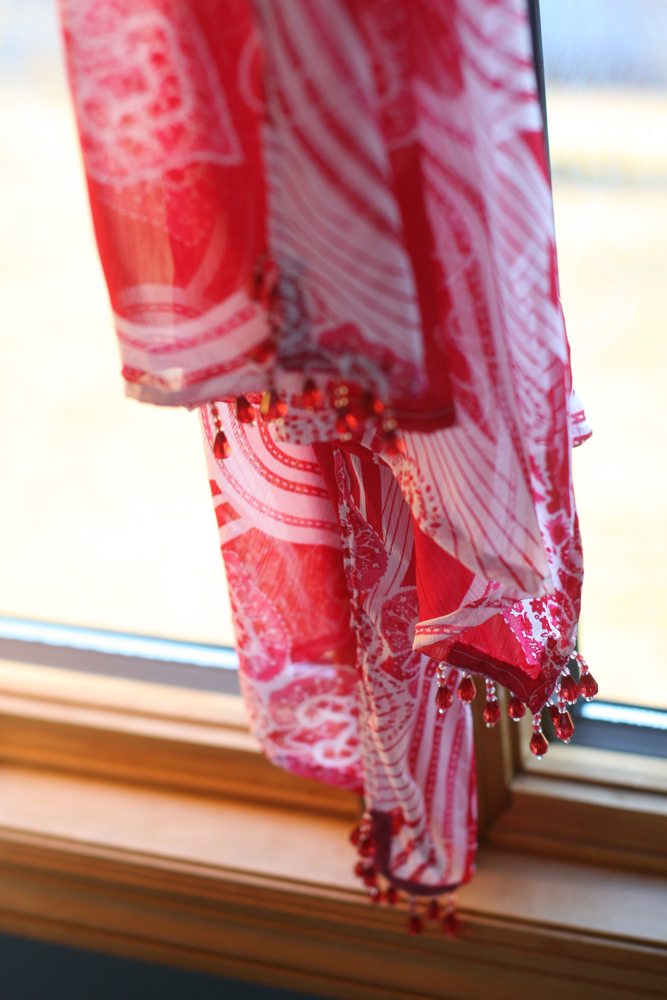
As you can see in the photo below, the inside layer is now 3-ish inches longer then the outer layer.

Next I rolled the top down in thirds towards the inside, creating a tube inside where the neck strap will go later.

I pinned it and sewed it down next to the seam I sewed to place the inner panel lower than the outer panel. HINT – after pinning, sew it with the outside up so you can make sure the seam is straight and looks good from the outside.

Then I cut a button hole shape near both side seams and used no-fray to seal the edges.

To make the neck tie, I cut a 3″ by 8′ long strip and folded in half. I pinned and sewed down the long side and one short end. I used a ruler to create an angle line, sewed and trimmed.

Using a thin wooden spoon, I turned the strap right side out then top stitched the seams I had sewn, closing the open end as I went.


To place the strap, I placed a large safety pin on one end and took the strap all the way around, pulling it out the same hole I sent it in to. Then I took the other end and pushed it through to the other hole. Imagine a pretzel crossing in front and going out each hole. When you’re done, you should have the strap going completely around your back, crossing in the front with the ends coming out the holes.

I tried the shirt on, cinching the strap tight until it felt snug but comfortable around my back and neck. After tying it, I checked the length in the mirror. This is where I cut off the fabric as I described before. After I shortened it, I used a straight stitch at 1/4″ from the edge and a tight zigzag to finish, not rolling or folding for the hem. If you own a serger, you could use either of those stitches to create a clean edge. Since I don’t have a serger and I’m ok with a little unfinished look on this shirt, I was fine doing it that way.

It’s cool and summery and flows nicely.